Controller bindings refers to assigning or re-assigning functions to the physical controls on your controllers.
There are a number of published bindings, and one of them may be perfect for you. But because it’s good to understand what the bindings mean when looking at a published binding set, I will show how to define a fairly simple set of bindings that will have you off the ground in no time.
These bindings are for the Oculus Touch controllers, and I do use the touch input for flying on the Quest because I find it most comfortable. If you don’t have touch controllers, or if you don’t want to use touch, you can substitute a button press for the touch in the following instructions.
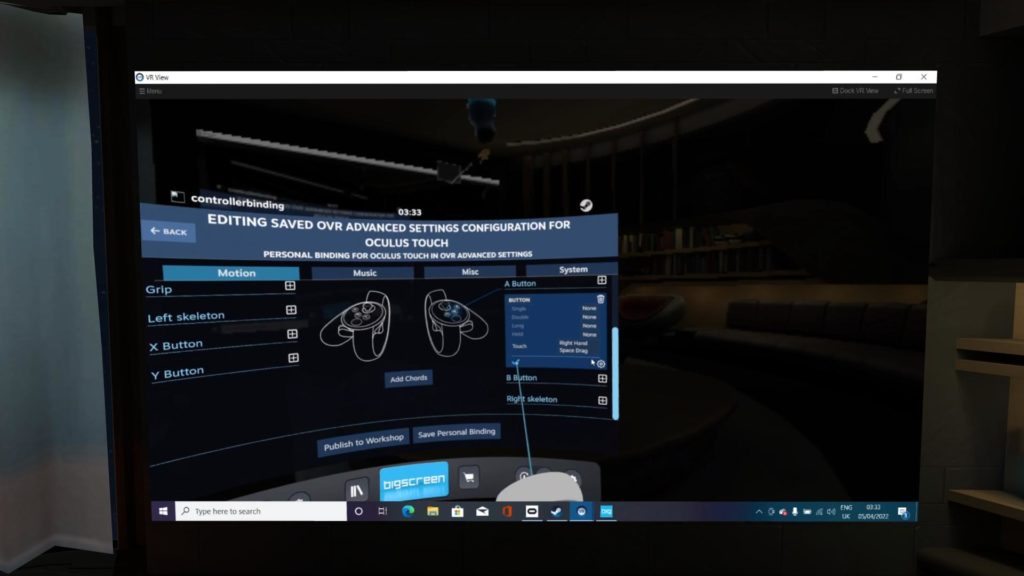
To start, select the “Bindings” sub-menu from the OVR Advanced Settings main menu. It will take a few seconds for the menu to appear, but eventually you will see a screen allowing the bindings to be edited.
Note the text on the menu:
EDITING SAVED OVR ADVANCED SETTINGS CONFIGURATION FOR OCULUS TOUCH
PERSONAL BINDINGS FOR OCULUS TOUCH IN OVR ADVANCED SETTINGS
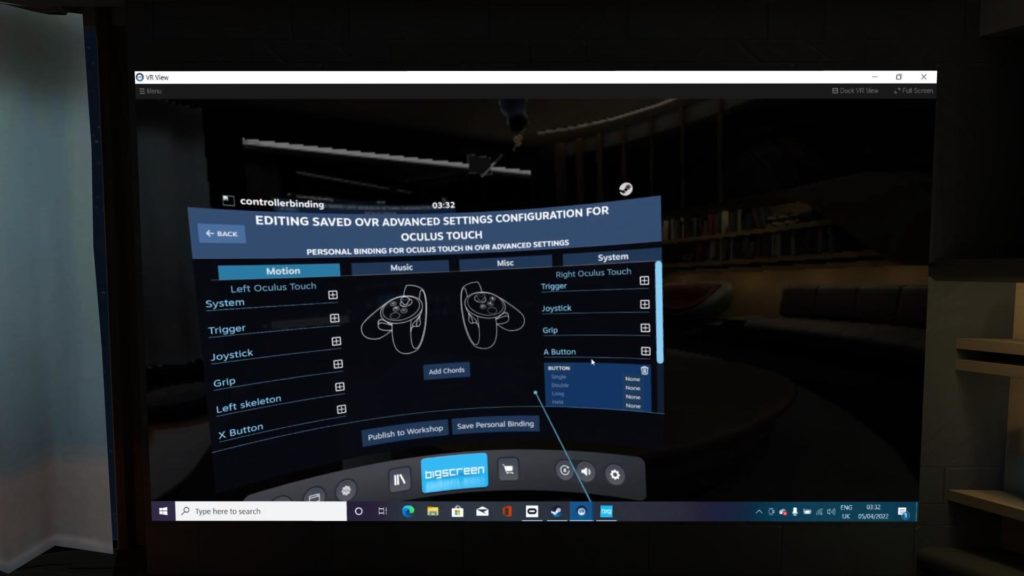
There will be no bindings initially. To add a binding for the A button, click the + sign (within a box) next to the text “A Button”. This will pop up a dialog asking what kind of action you want to assign to the button. You want a “Button”:
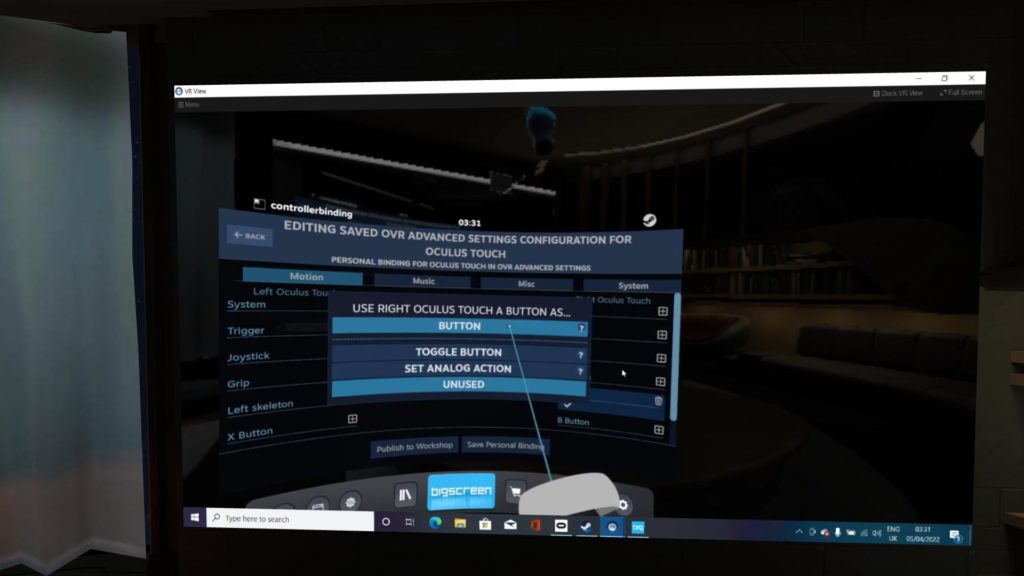
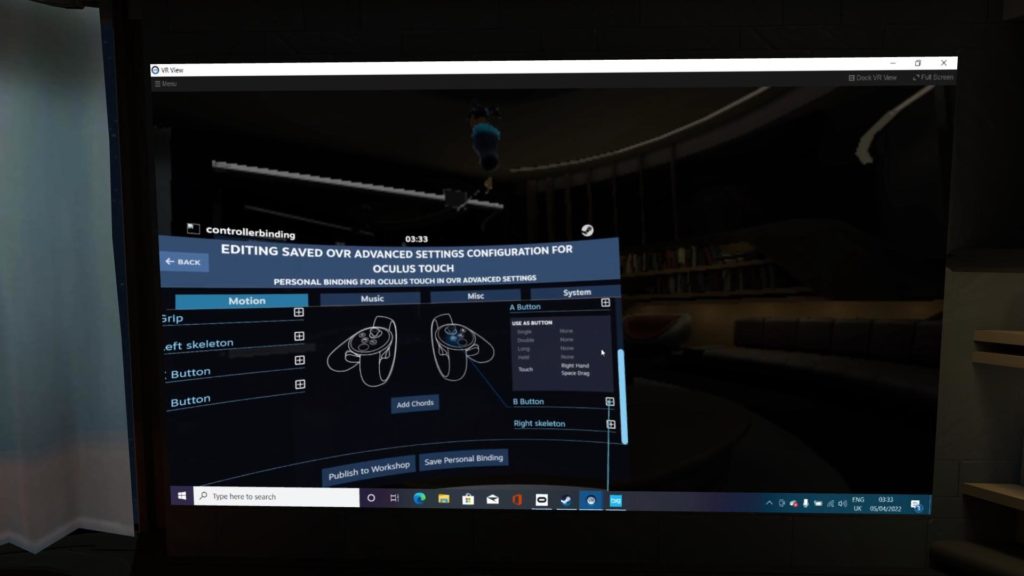
You will then see options for bindings for this key. You can select single click, double click, long press, or touch for input. Click on what you want. I use touch.

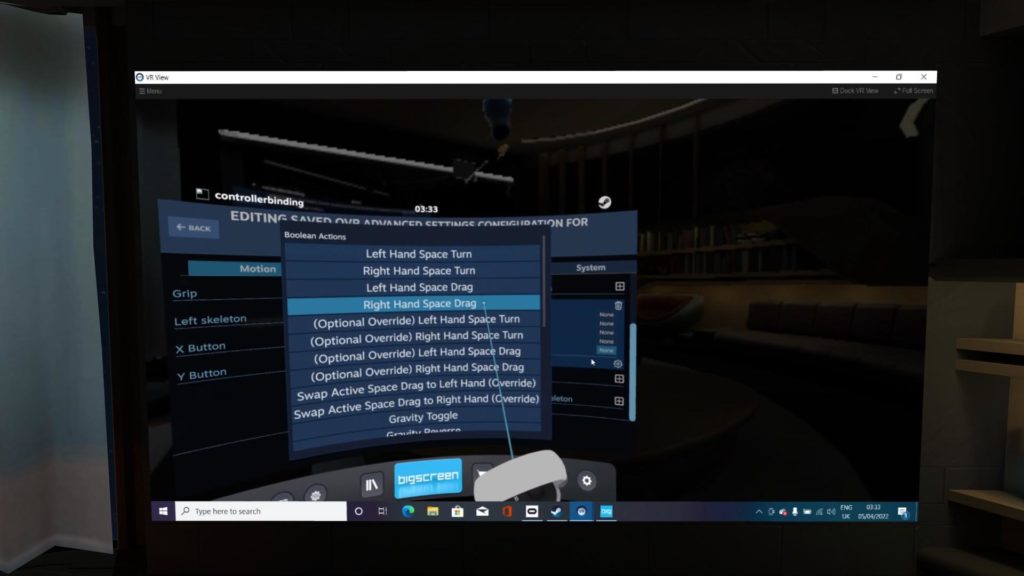
Clicking “Touch” (or any other type of action) brings up a further dialog, to select “Right Hand Space Drag” which is what moves you around:
After selecting this, click the Check Mark to save.
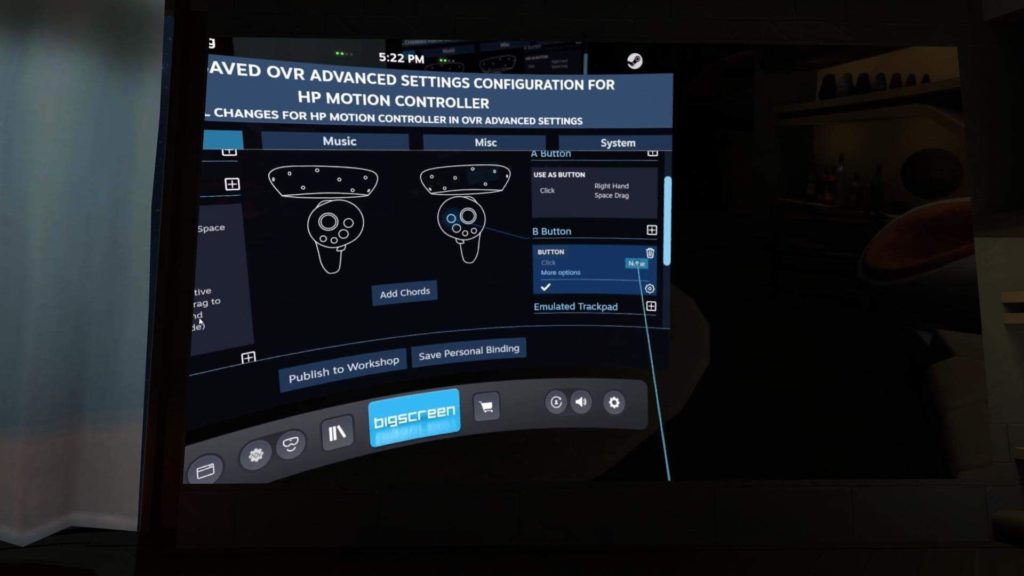
I use the B Button for gravity toggle. Gravity toggle changes the way the A button works. With gravity off, the A button touch will displace you in space as you move your hand. With gravity on, the button can fling you. When you’re moving after a fling, touching the A key or turning gravity off will stop you (here, with the press of the B button).
The assignment here is similar to the Space Drag on A. Click the + next to the B button:
Again select “Button” for the control type, and here I assign to the “Click” action:
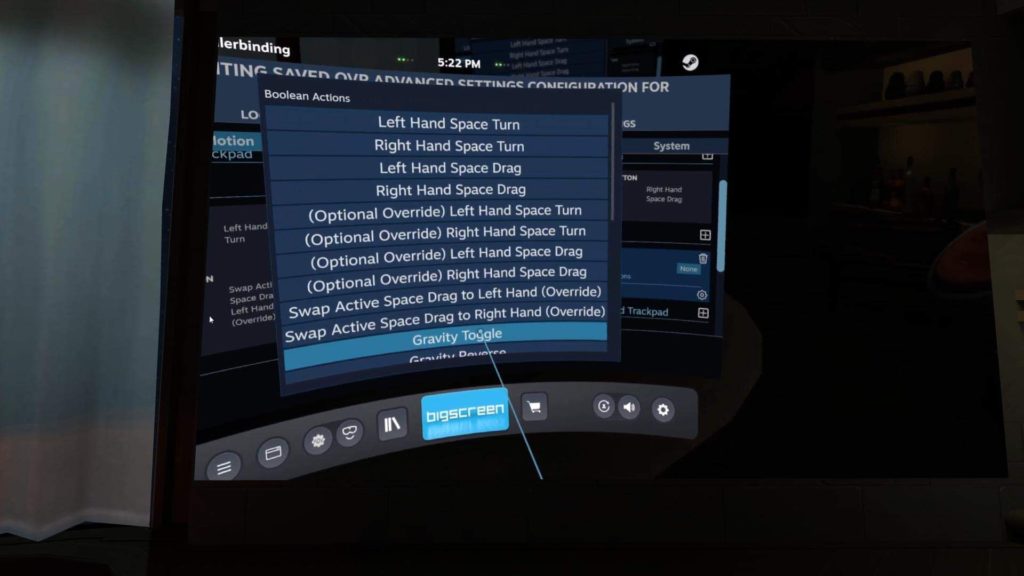
…and set it to the “Gravity Toggle” option:
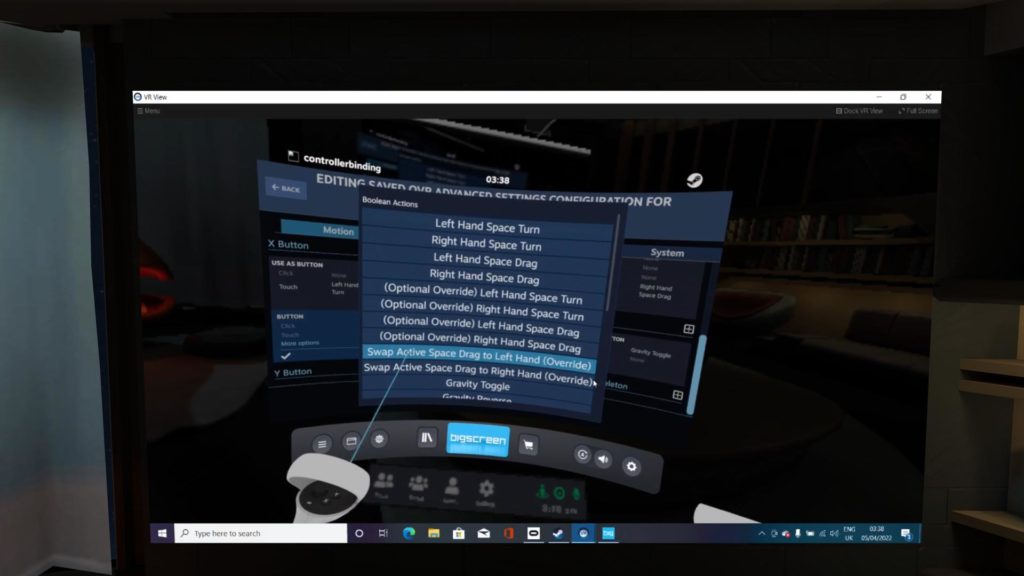
Two more bindings are helpful, and I set both of to the X button. You can set multiple bindings by hitting the + once for each binding. I use touch for these also. Set the first binding to “Left Hand Space Turn”. This image shows a “Click” setting but you can use “Touch” for Oculus controllers.
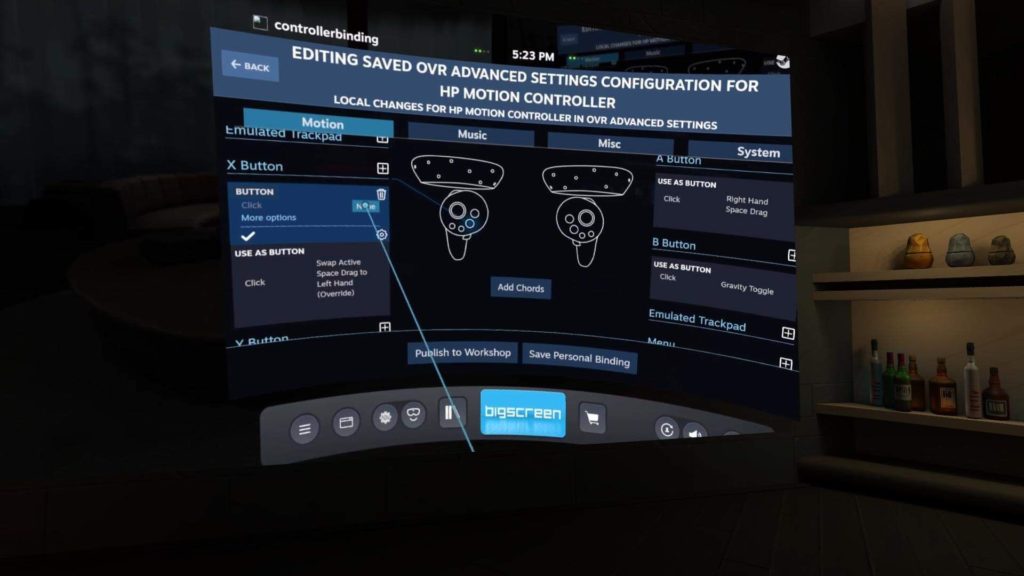
Set the second binding to “Swap Active Space Drag to Left Hand (Override)”: